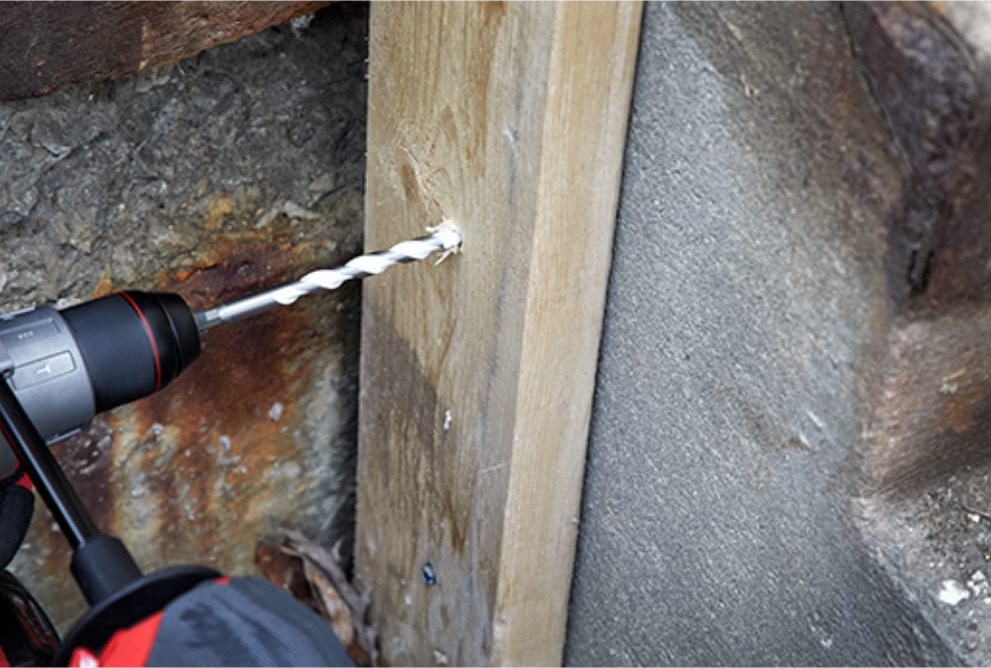
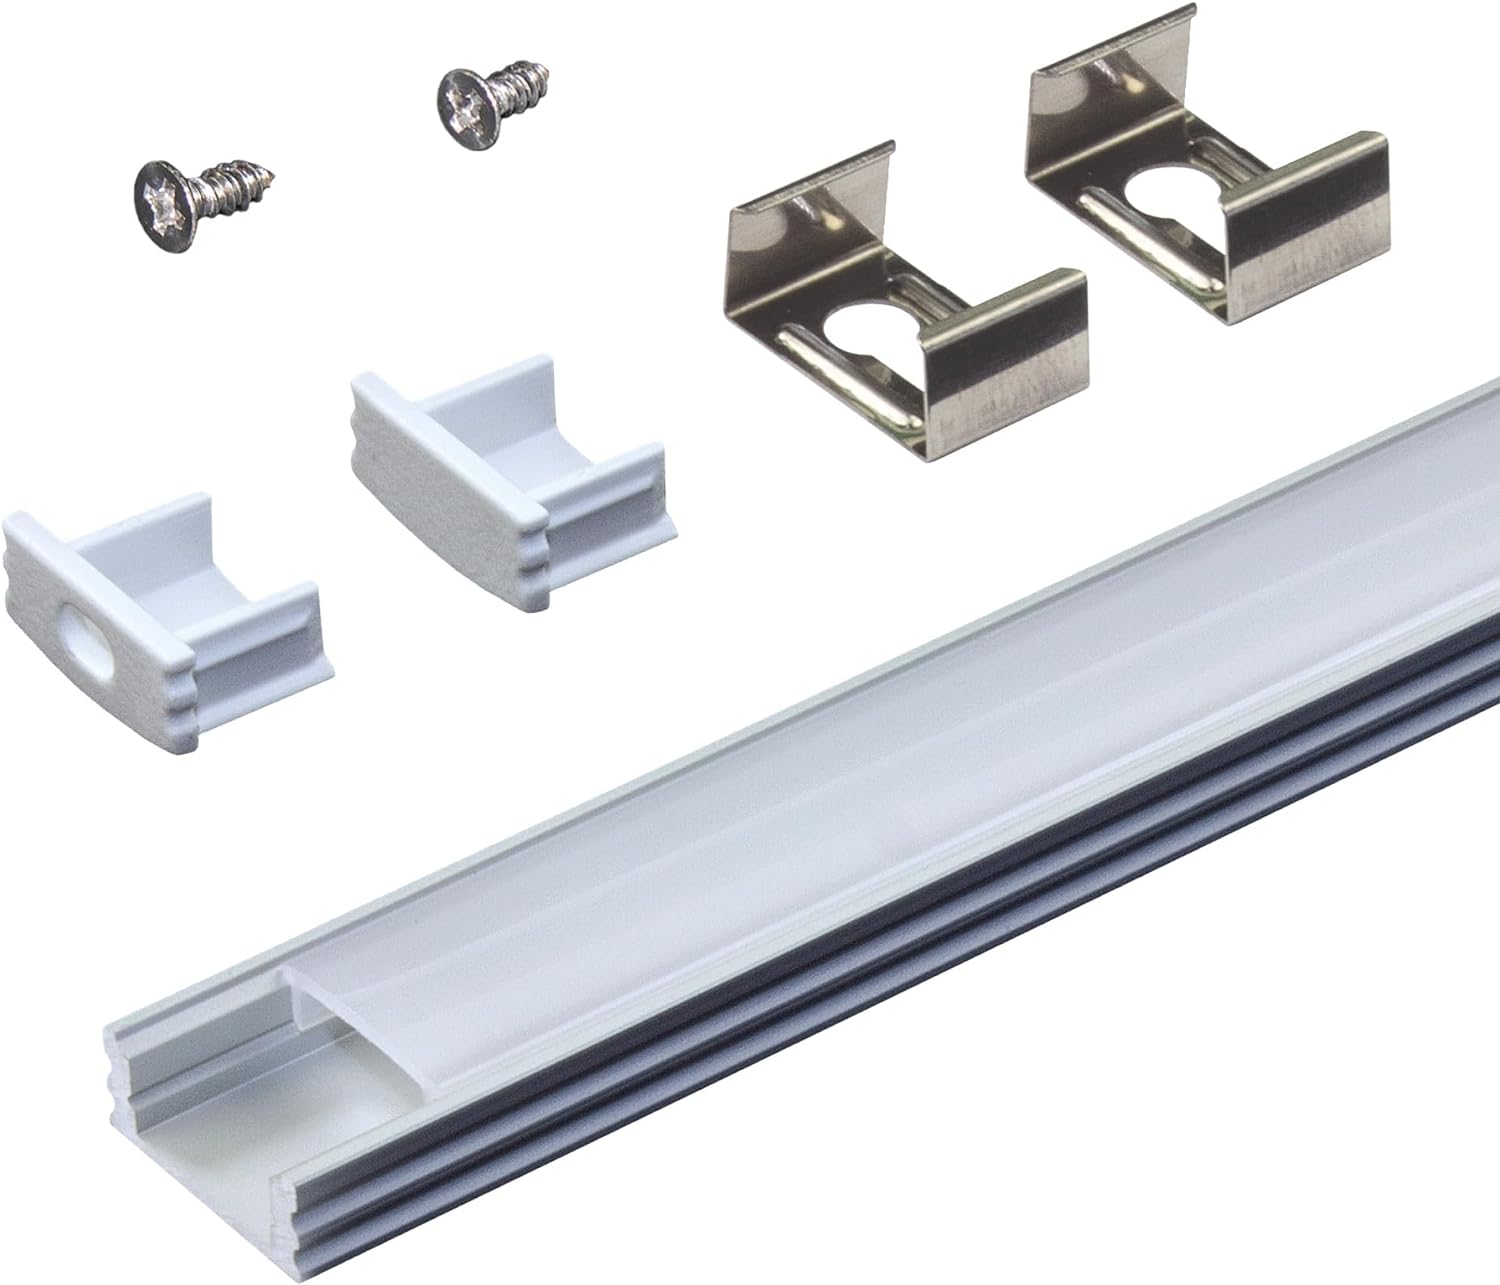
Welcome to the world of DIY smart shades! If you’ve been dreaming of upgrading your windows with stylish, automated shades, you’re in the right place. At B&A, we’re here to share the installation process and offer expert tips along the way. With our years of experience in the real estate industry, we understand the importance of creating a home that reflects your style and meets your needs. Whether you’re a seasoned DIY enthusiast or a first-time homeowner looking to spruce up your space, we’re excited to share our insights and expertise on installing smart shades. 

So, grab your tools, and let’s start transforming your windows into smart, stylish focal points with our step-by-step guide to DIY smart shade installation!

1. Finding the Perfect Shades

Smartwings Samples

Ready to upgrade your windows with smart shades? Start by envisioning your desired look and seeking inspiration from magazines or online sources. You can also check out some of our projects here for some more inspo.  It is important to have a specific aesthetic in mind prior to beginning your work.  Requesting samples is also crucial to ensure the perfect fit for your space, as lighting can significantly affect colors and textures.  Please note, it is important to accurately measure your windows and determine whether you prefer an inside or outside of the window mount prior to ordering your shades.

When choosing shades for one of our recent clients, we carefully balanced quality and affordability, ultimately selecting these beautiful, neutral shades from SmartWings as the optimal choice. They have the perfect transparency for the living room, while blocking out the unwanted, blinding sunlight.  SmartWings offers a cost-effective solution that met our client’s budgetary needs while still providing superior craftsmanship.

Battery-operated or hardwired?  When deciding between hardwired and battery-operated shades, consider your preferences and technical skills. Hardwired shades eliminate battery hassle, but may require professional assistance for installation – unless you happen to be an electrician, of course.  Hardwired shades do promise seamless integration and lasting reliability. 

On the other hand, battery-operated shades offer easier installation, without the need for complex wiring. Ultimately, whether you choose DIY installation or seek professional help, prioritize shades that enhance your home’s functionality and complement your lifestyle seamlessly. 

LED Light Strip

In evaluating other reputable shade companies like The Shade Store, Hunter Douglas, and 3 Day Blinds, we found that they do offer premium options, but their pricing structures may lack transparency. While The Shade Store boasts luxurious shades, their pricing may not suit all budgets.  3 Day Blinds offers quality similar to SmartWings, but their bundled installation fees can leave you feeling a little queasy.

2. Navigating Installation Challenges

Embarking on a DIY shade installation project can be both exciting and challenging. From navigating tricky situations like the best way to install into your ceiling or wall, to ensuring you have the right tools for the job, there’s a lot to consider. For instance, when our client inquired with a reputable blind company about installing shades into their concrete slab ceiling, they initially encountered resistance. 

Although the shade company eventually offered a solution involving dowels and screws directly into the concrete, we, along with the client, who mentioned that another resident’s shades recently fell, questioned the longevity of this approach. Instead, we opted for a more prudent installation method, securing the shades into the cement ceiling using a wooden slab with these anchors, ensuring durability for years to come. See example photo to the right here.

using a wooden slab with anchors,
Installing a wooden slab into concrete, that the shades can then be attached to, increases the structural integrity & support for your shades.

USER MANUAL

Always check the user manual or instructions of the blinds or shades that you have purchased.

Gather Tools

Grab a screwdriver, pencil, tape measure & a high-quality drill and the corresponding multi-material drill bit set.

Check Alignment

If you are living in an old building, make sure the sills and the sides of your window are level and perpendicular. You will have to take that into account when installing. Make sure to have a long level handy to ensure proper alignment. If you love gadgets, you can also get yourself a super cool laser level.

Mount Brackets

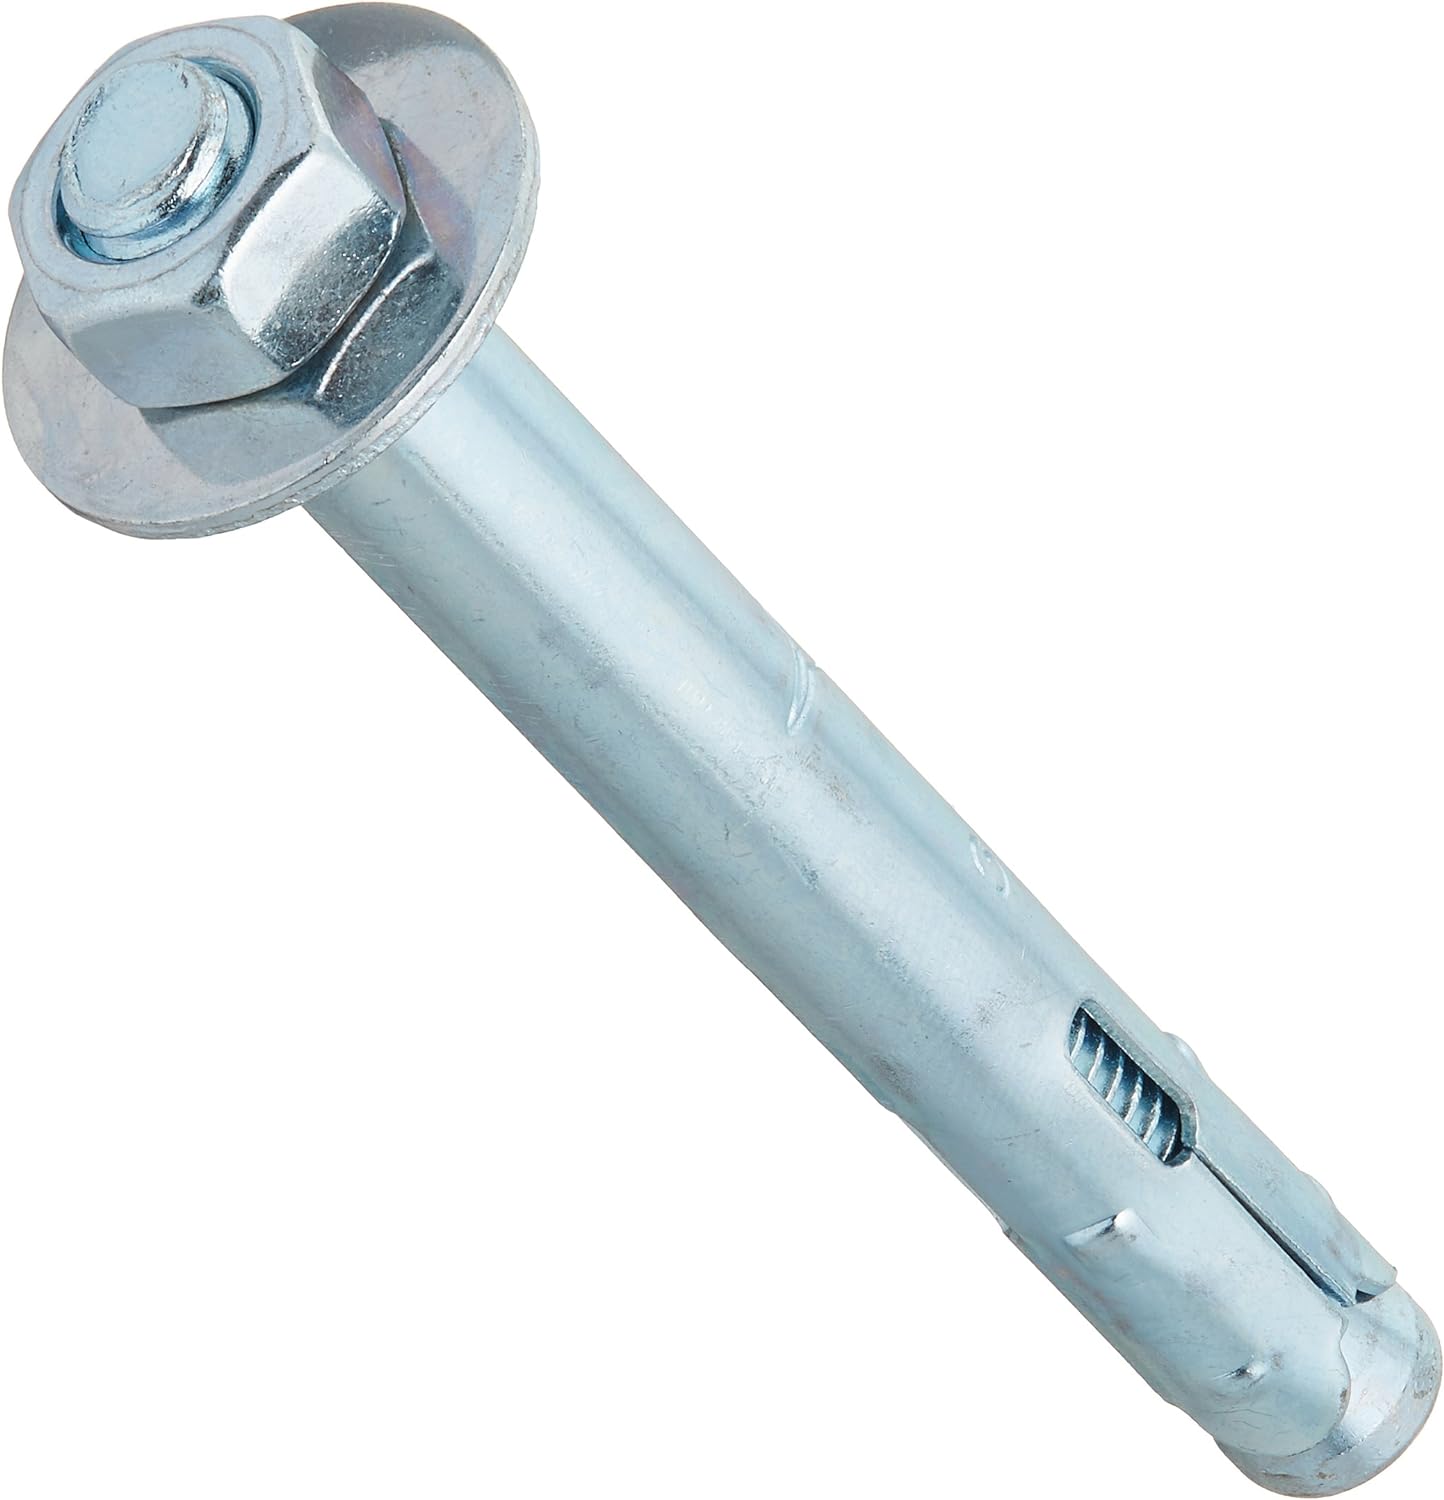
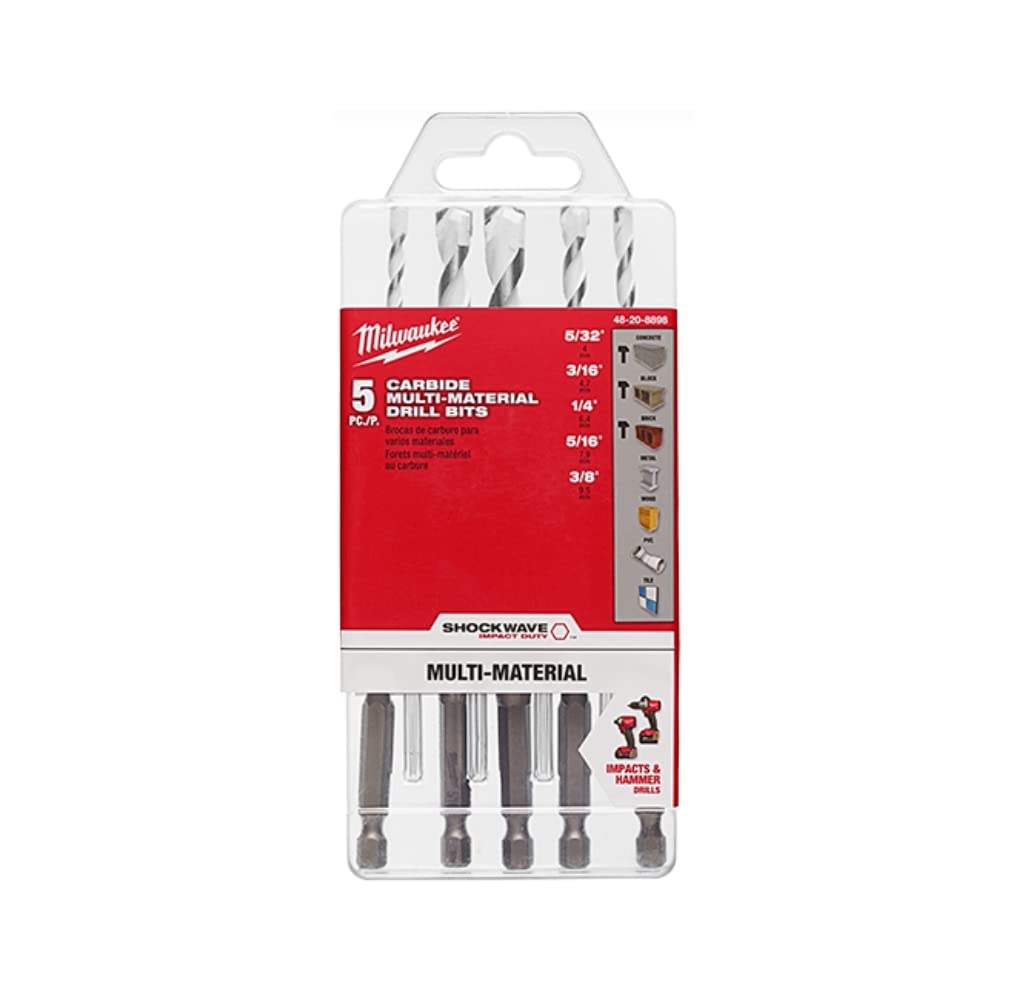
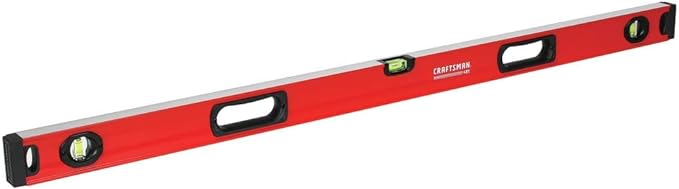
Mark and then screw the brackets in place, ensuring they're level. If the area is not level you can use wood shims under the brackets to get that level line. If it is too difficult to maneuver the shims behind the brackets, you can just use a piece of wood, metal or PVC as a foundation for your mounting. Make sure to paint this foundation prior to installing the blinds. Additionally, be sure to use appropriate anchors or screws. For instance, do not use drywall screws or dowels to install into masonry or concrete. Keep in mind, if you live in a high rise, the building actually moves and screws or dowels installed directly into masonry or concrete can be a bad idea. Using construction glue can help to strengthen.

Install Shades & then Test

Install the shades into the brackets. Make sure they open and close freely.

Attach Valance & Secure Cords

If you purchased them with the shades, follow manufacturer instructions to attach valance. Or, you can make your own custom valance using a light, paintable material such as PVC, don't forget to use primer before you paint. Keep cords out of reach of children and pets. If you used wood, metal or PVC to mount your brackets onto, this can provide unseen places to hide the cables.

Finishing Touches

Adjust as needed for a straight, secure fit. It is a good idea to have a putty knife, wood filler, white/clear silicone & silicone gun and matching wall paint handy for touch-ups and a neat, seamless finish.

By following the above steps and tips carefully, you can easily install shades to improve your windows’ appearance and functionality.​

3. Shedding Light on LED Installation

Let’s shed some light on LED installation! Adding LED light strips to your space, like this strip light with a broad color temperature range and tuneable options, can enhance ambiance, but it may require hardwiring, unless you are going for battery operated. Our preferred choice? These striplights paired with a surface channel mount for a sleek finish.  The homeowner’s choice regarding the quality and color of the LED strip light is key. 

        Adding colorful LED light strips like this one can be a unique choice.  It’s fun to adjust based on your mood or event!

Lights Led - Hardwired Advantage

Achieving a polished and customized appearance is a key advantage of DIY or collaborating with a flexible company. Creative solutions can be found to conceal wiring seamlessly. For example, we employed a combination of white PVC board and wood paneling to cover the blind mechanics and wiring at the top, ensuring a seamless integration with the walls. PVC’s lightweight nature and ease of painting make it ideal for blending seamlessly with the surrounding decor.

Once you have your beautiful new window accessory you can enjoy the fruits of your labor.  Aside from being able to control the quantity of light that enters your space, you are also increasing the value of your home (trust us, most buyers do not have an imagination and having a polished space always makes the right impression) and saving on energy!  Not to mention making your friends and family jealous.

Still feeling overwhelmed and find the task overly daunting? Don’t worry – B&A offers free consultations to bring your vision to life. We’re here to make your smart shade dreams a reality. Take the first step toward transforming your space and contact us today! 

Below is a convenient shopping list with links for you to gather everything you need prior to beginning your shade installation project.

SHOPPING LIST & LINKS

Throughout this article, it’s important to note that affiliate links may be present, ensuring transparency in our recommendations.