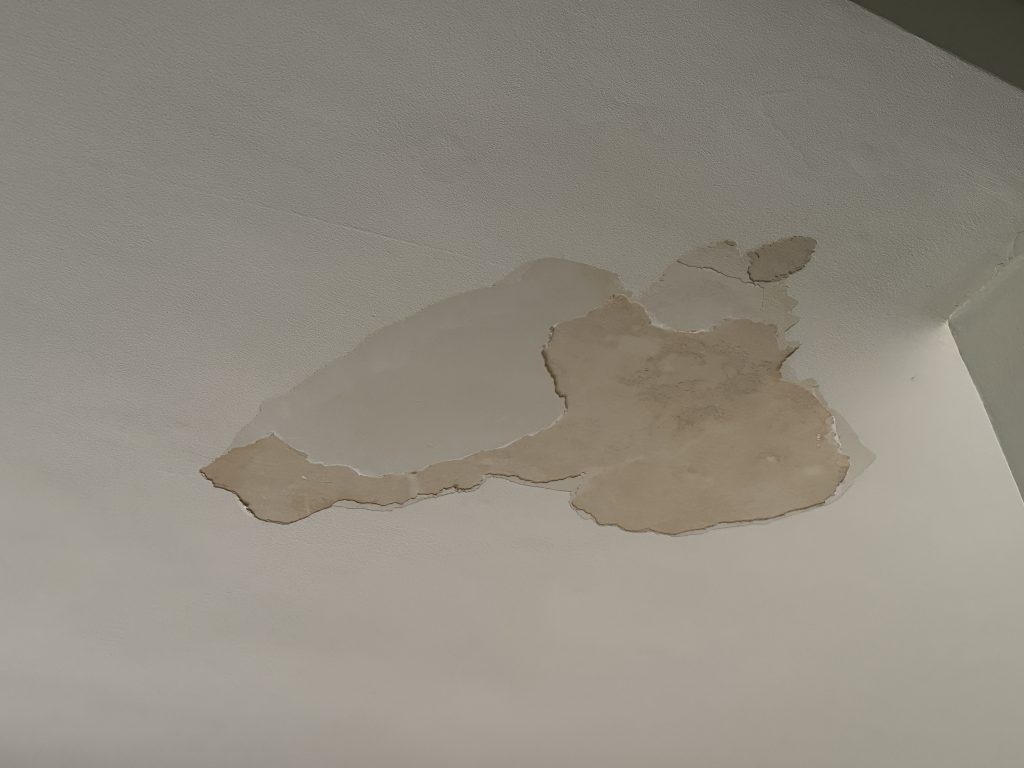
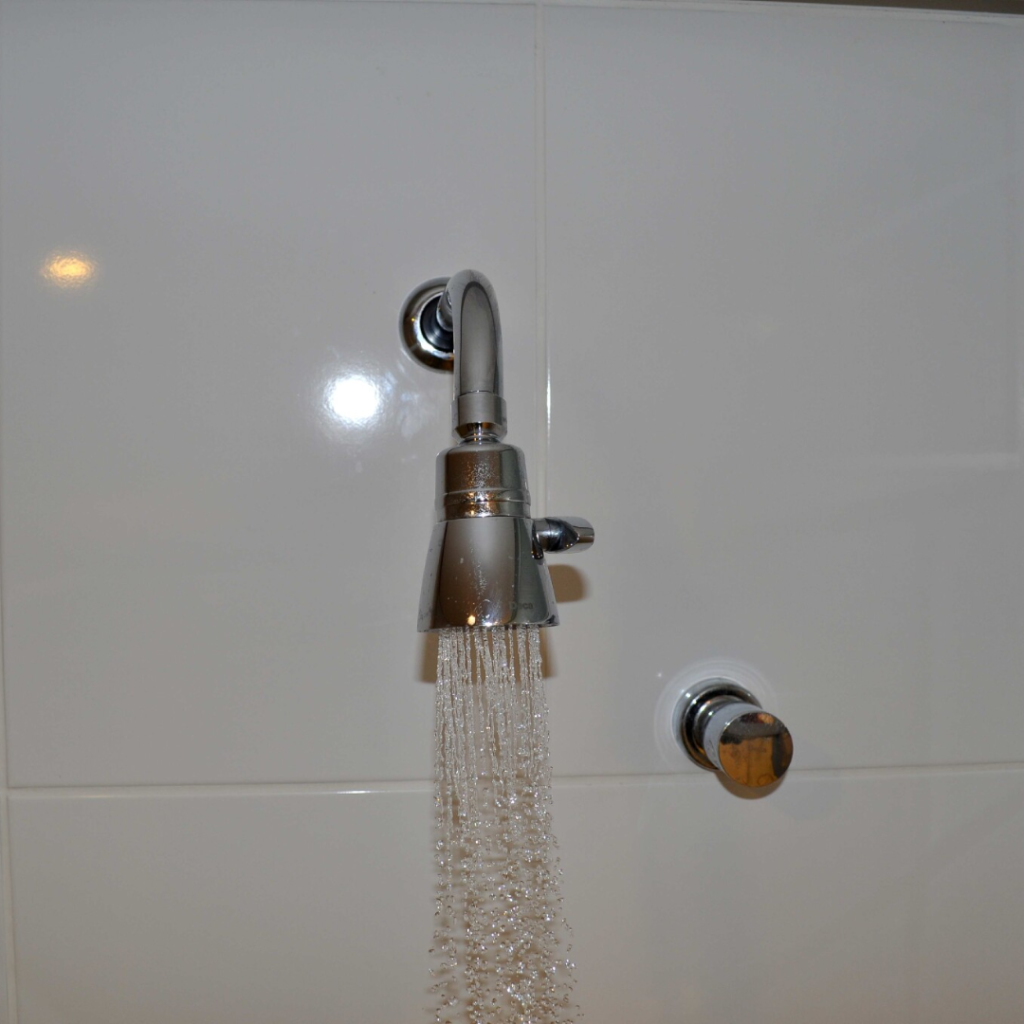
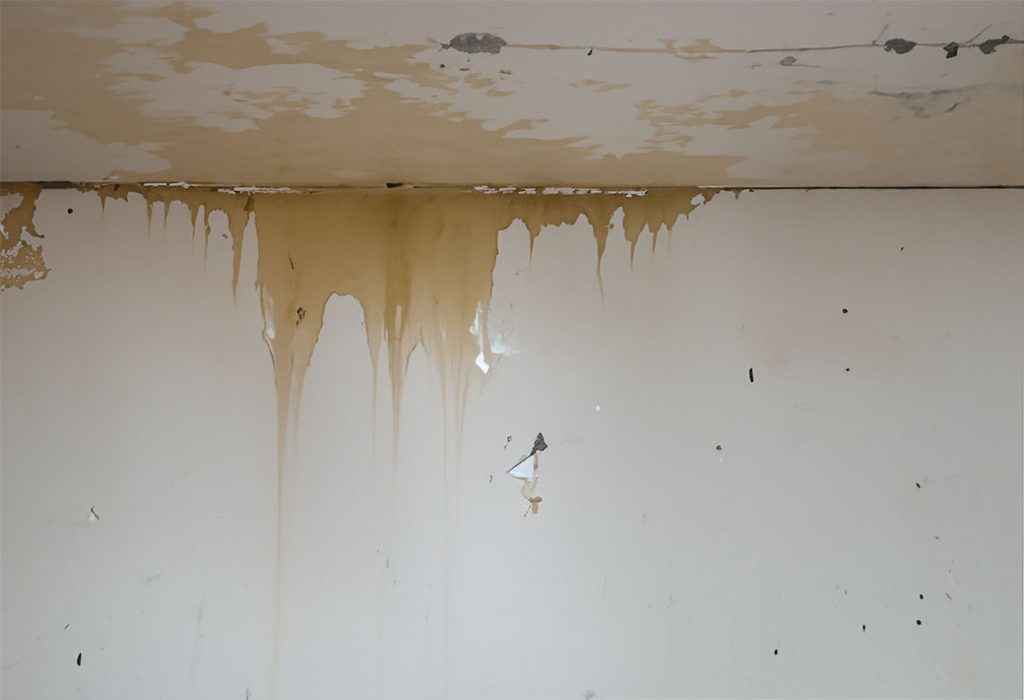
Tuesda7, April 30| 2024
Say Goodbye to Cracked or Peeling Ceiling Paint
Are you tired of looking up at your ceiling only to be greeted by flaking paint? Perhaps you’ve found yourself scanning your ceiling while resting on the couch or bed and noticed some annoying little bubbles or cracks in the paint? If so, you’re not alone. Peeling ceiling paint can be a frustrating and unsightly problem for many homeowners. But fear not, because in this comprehensive guide, we will walk you through everything you need to know to tackle this issue like a pro.
The frustration sets in when what was once a pristine ceiling starts to show signs of wear and tear, with paint peeling off in unsightly patches. One of the most common causes of this problem is moisture infiltration. Whether it’s from leaks in the roof or high humidity levels, moisture can seep into the ceiling substrate, causing the paint to lose its adhesion over time. It might not be a leak! Poor surface preparation is another culprit, as painting over dirty, greasy, or glossy surfaces can prevent the paint from bonding properly. Additionally, using low-quality paint or applying it in extreme temperature conditions can lead to premature peeling. Understanding these common causes is crucial in addressing peeling paint issues effectively and restoring the beauty of your ceilings.
In this article, we will delve into the causes of peeling paint on ceilings, provide you with step-by-step instructions on how to repair it, help you gather the best tools and materials for the job, offer tips for achieving a flawless finish, and highlight common mistakes to avoid during the repair process. By the end of this guide, you’ll be equipped with the knowledge and skills to transform your peeling ceiling into a beautifully painted surface once again.
Understanding the Causes of Peeling Paint on Ceilings
Here are some tips on how to identify the cause of your problem:
1. Moisture Issues:
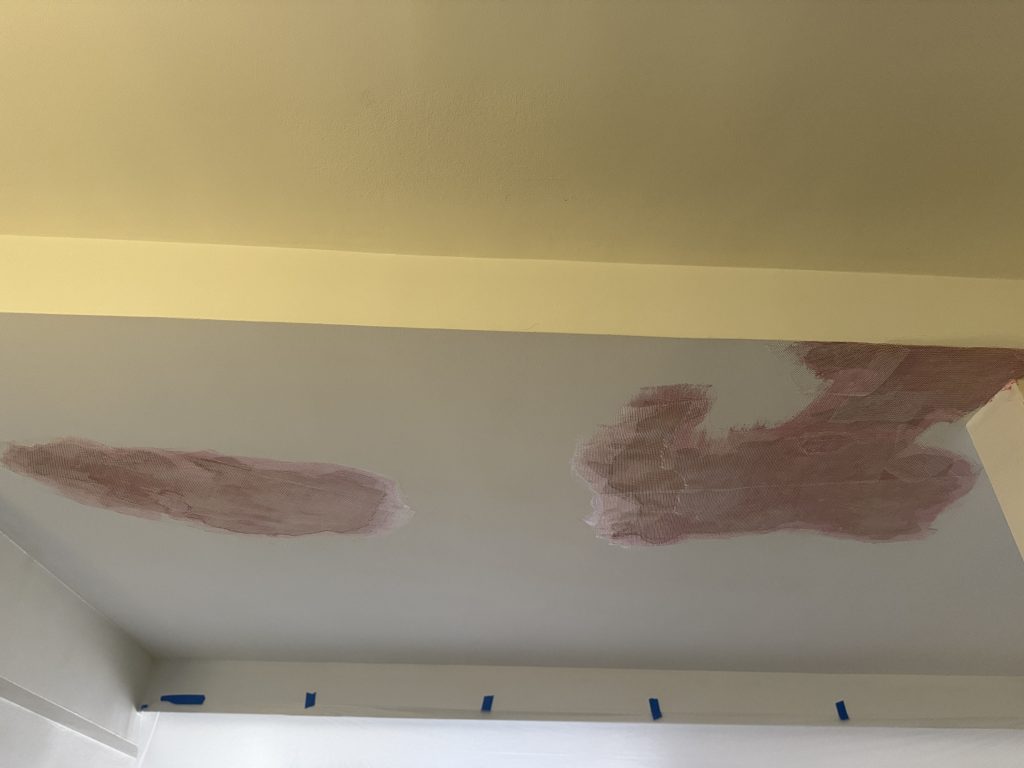
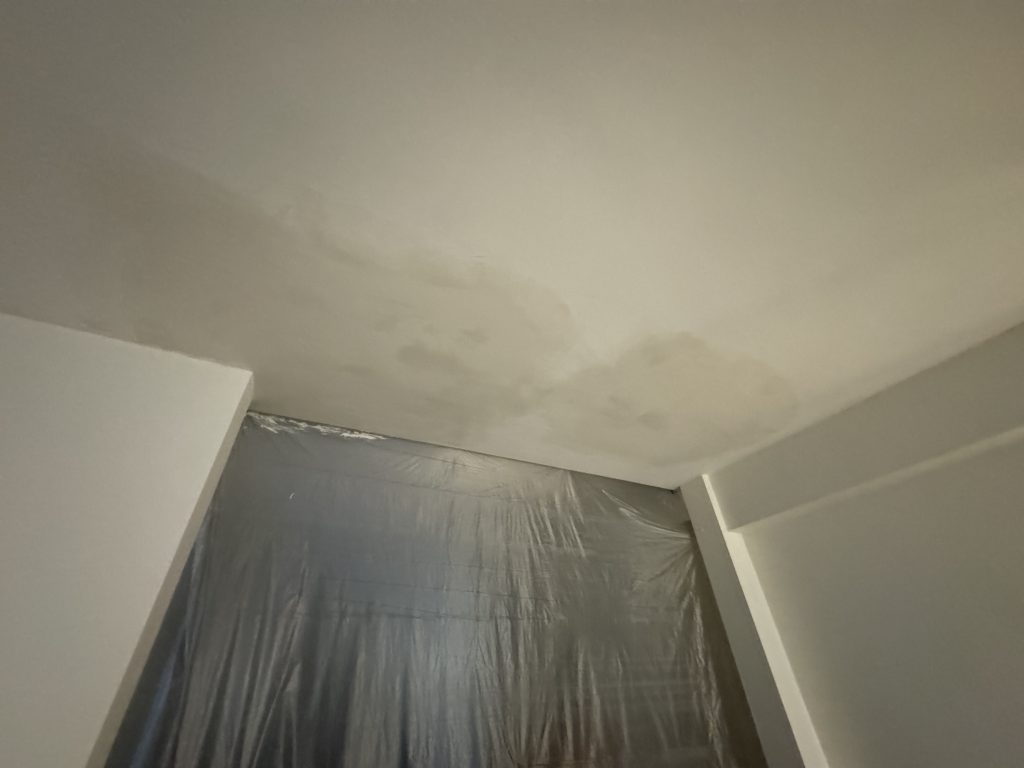
– Look for water stains or discoloration on the ceiling, which could indicate leaks or moisture seepage, or cold bridging.
– Check for signs of mold or mildew growth, as these often thrive in moist environments.
– Feel the affected area; if it feels damp or cool to the touch, it’s likely experiencing moisture-related issues.
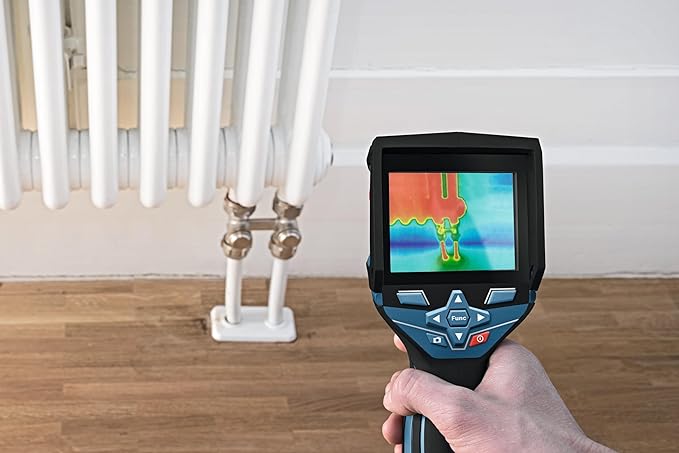
– Investing in a thermal camera can provide invaluable insights into hidden moisture issues behind peeling ceiling paint, helping you detect and address potential structural damage before it becomes a costly problem. Here is a very good one.
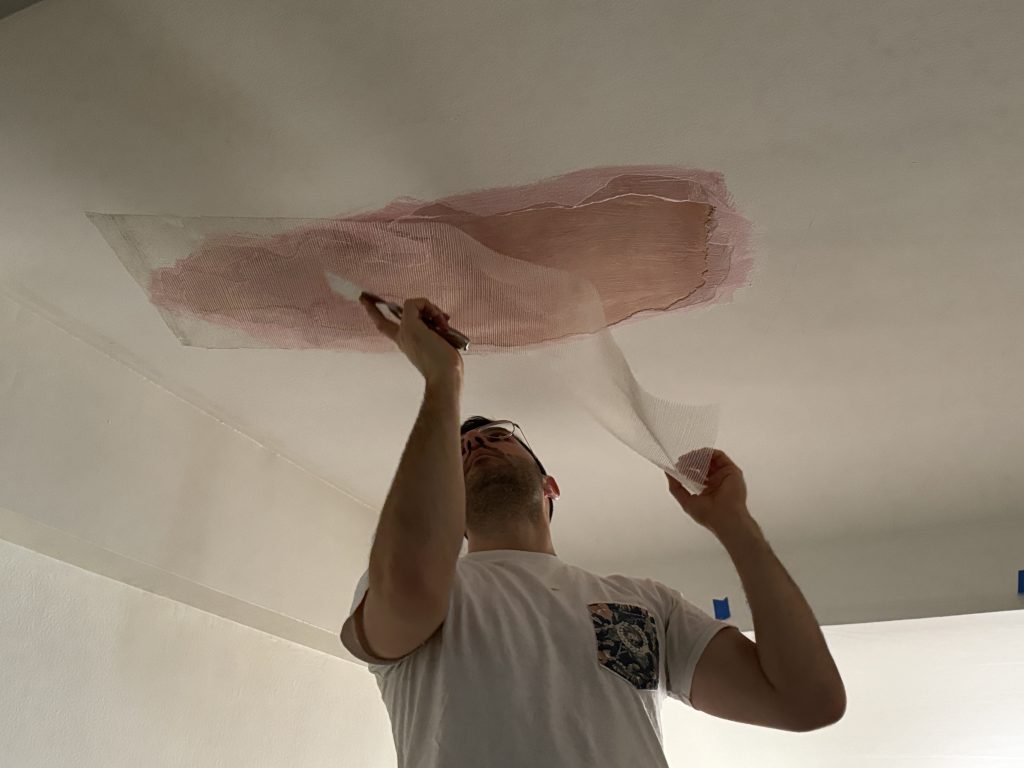
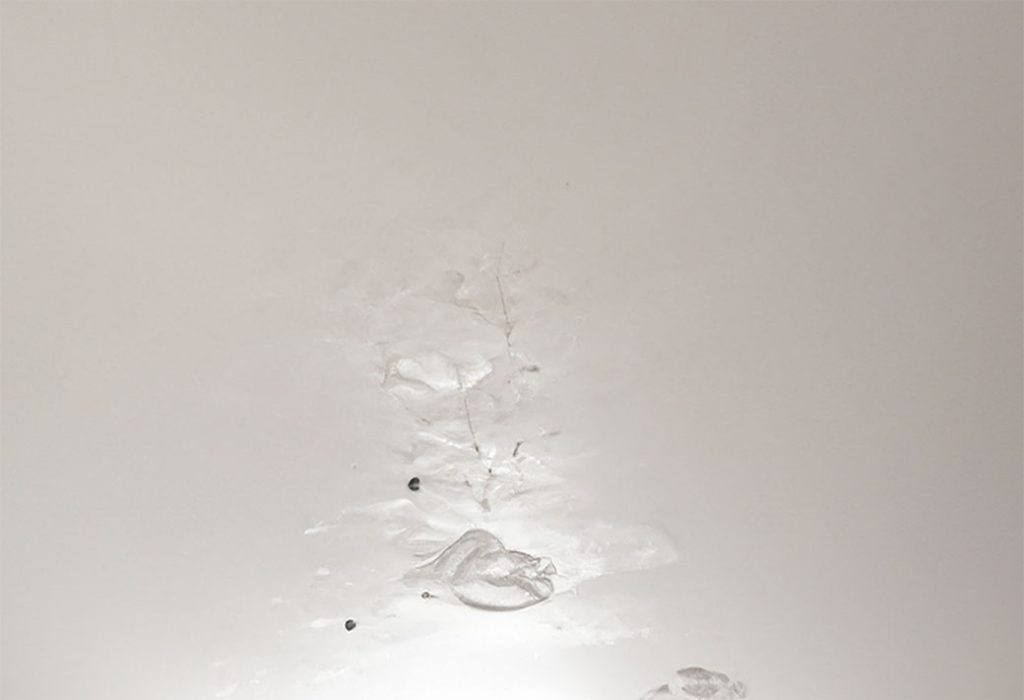
2. Poor Adhesion:
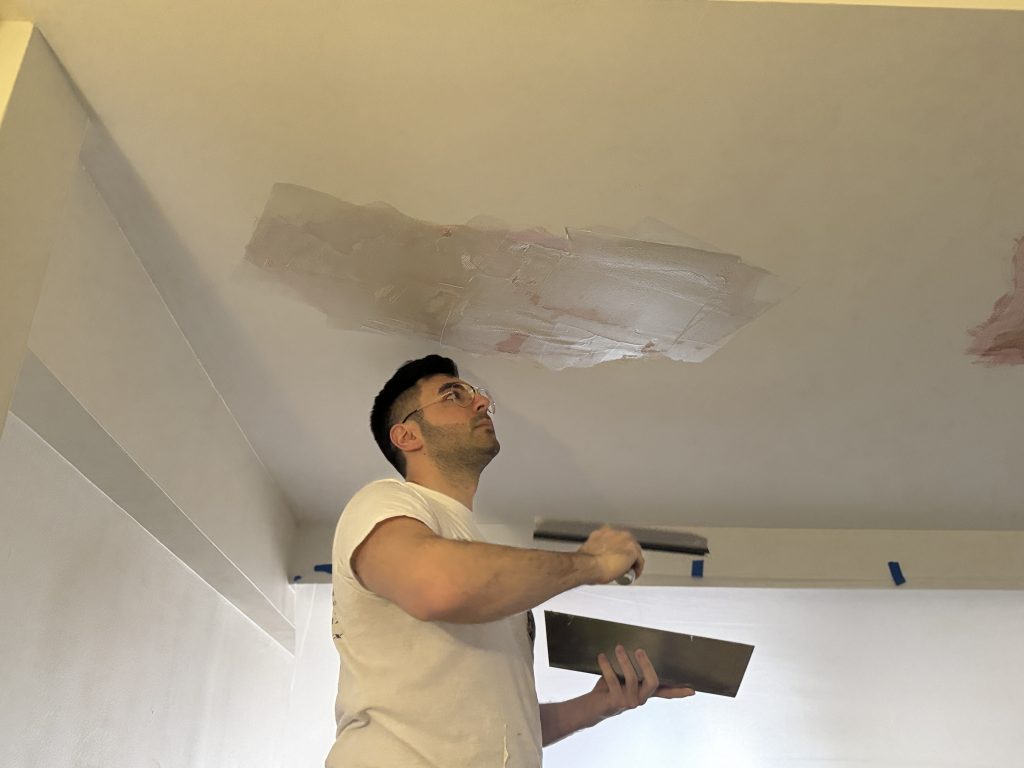
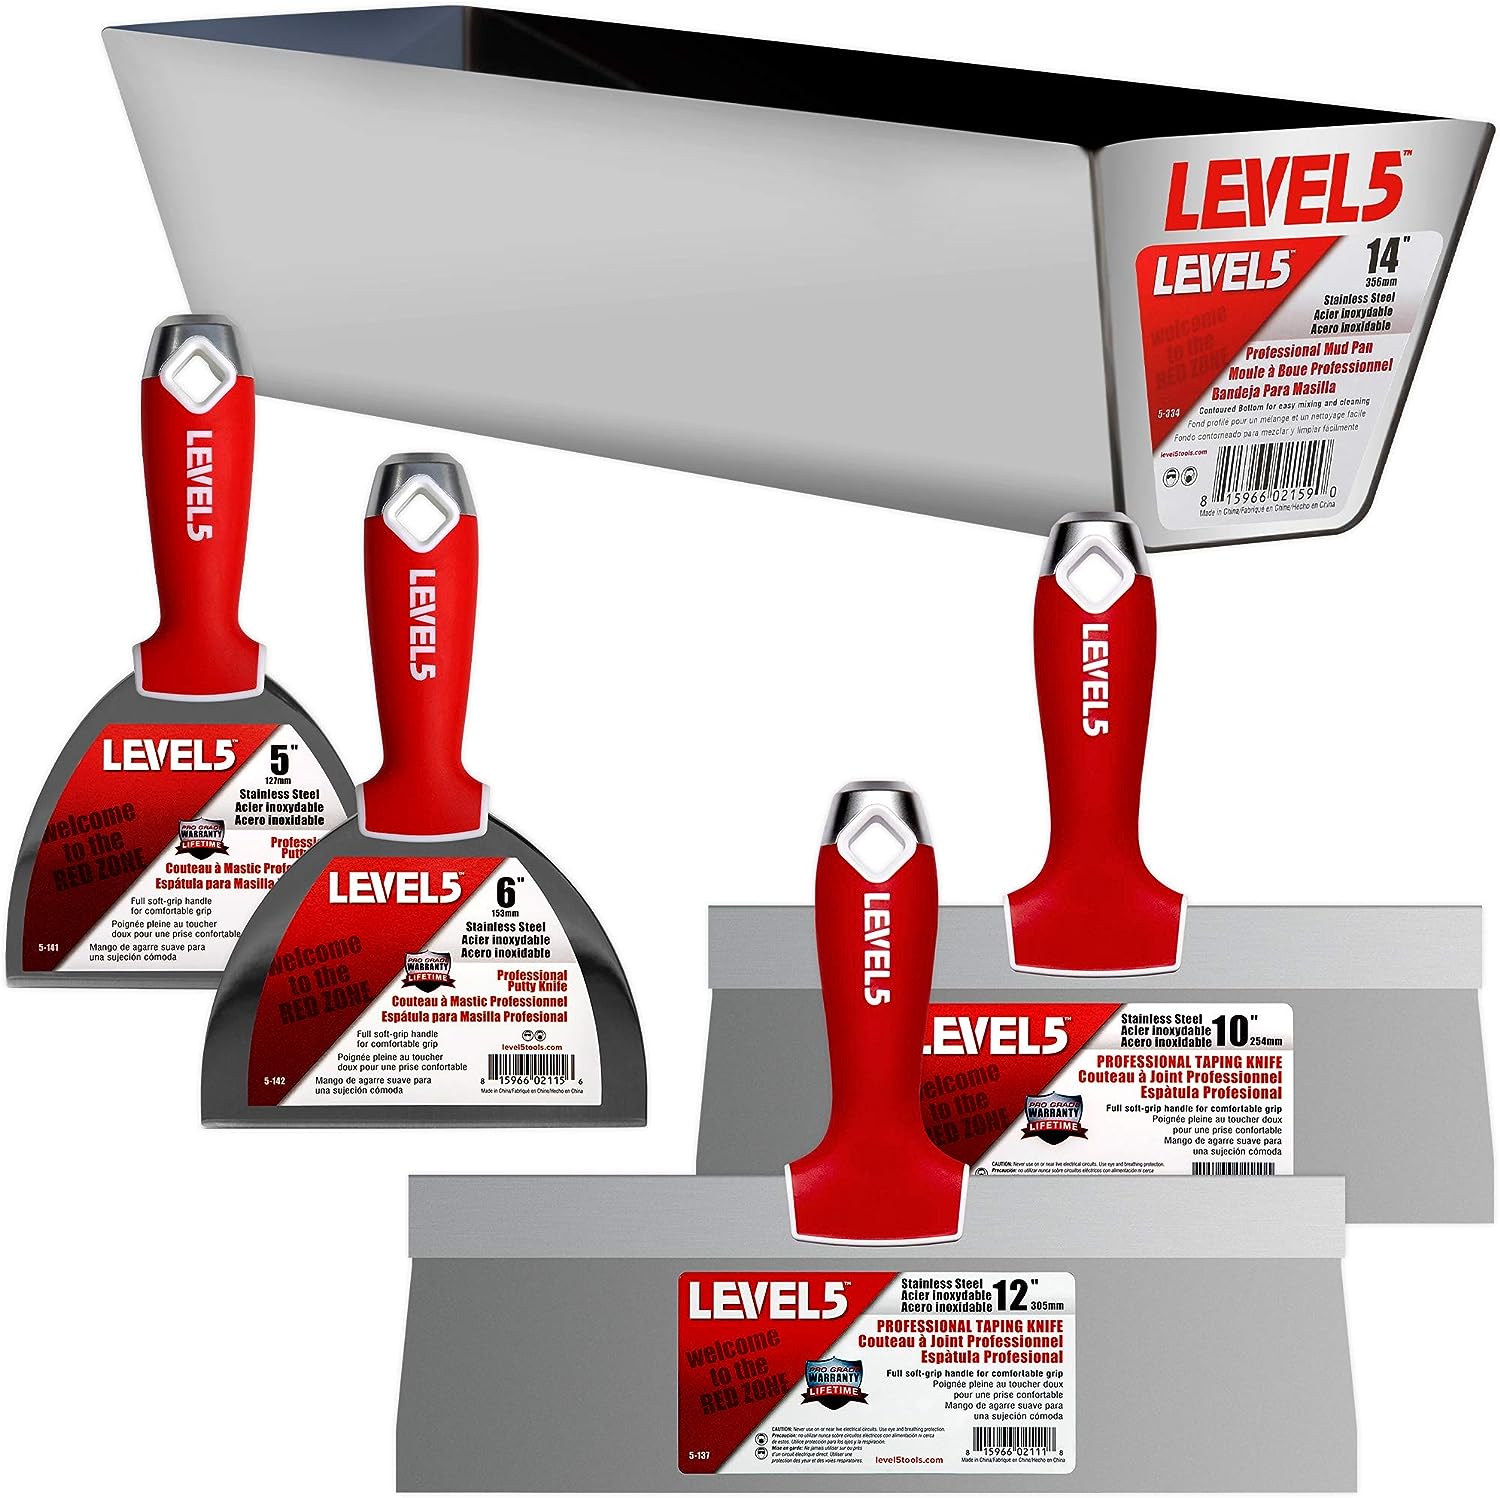
– Inspect the peeling paint; if it comes off easily in large sections or flakes, it may be a sign of poor adhesion.
– Look for areas where the paint has bubbled or lifted from the surface, indicating a lack of bonding between layers.
– Examine the underlying surface for grease, dirt, or residues, as these can prevent paint from adhering properly.
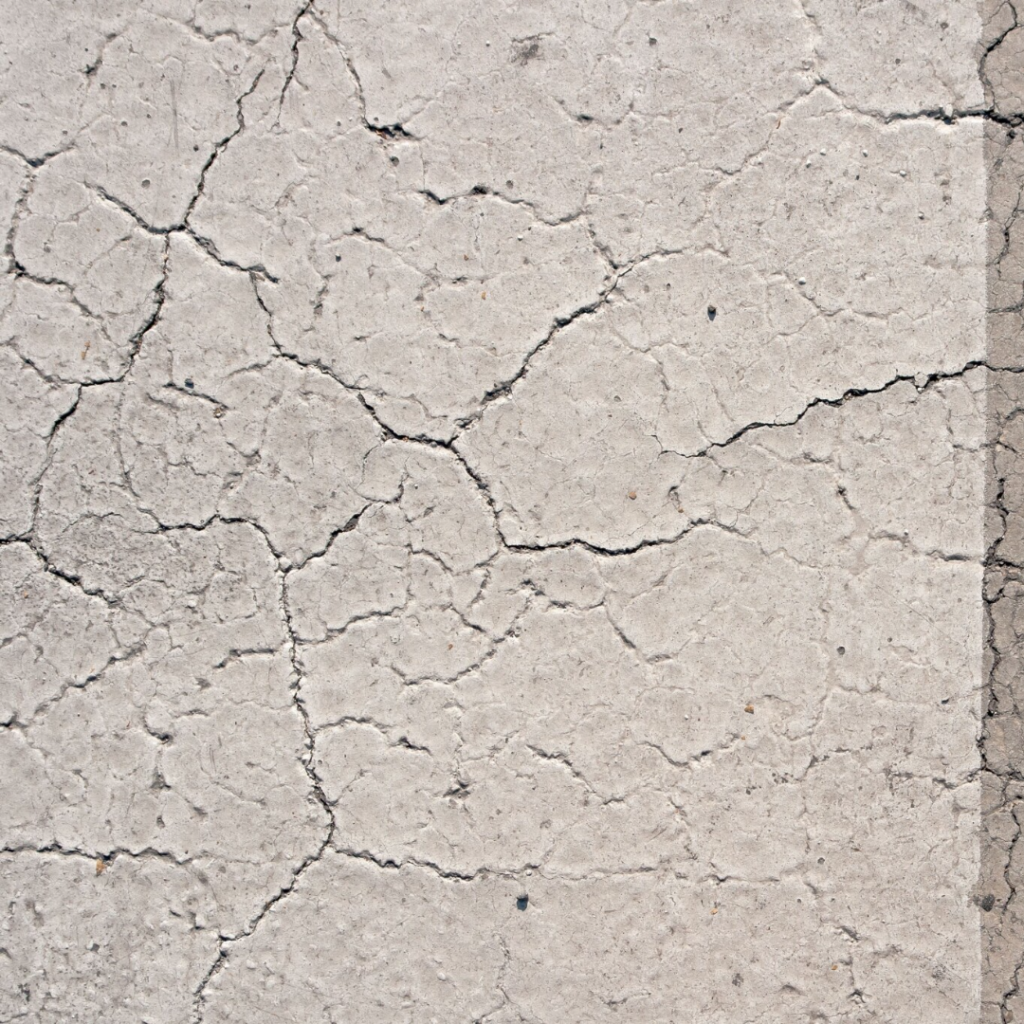
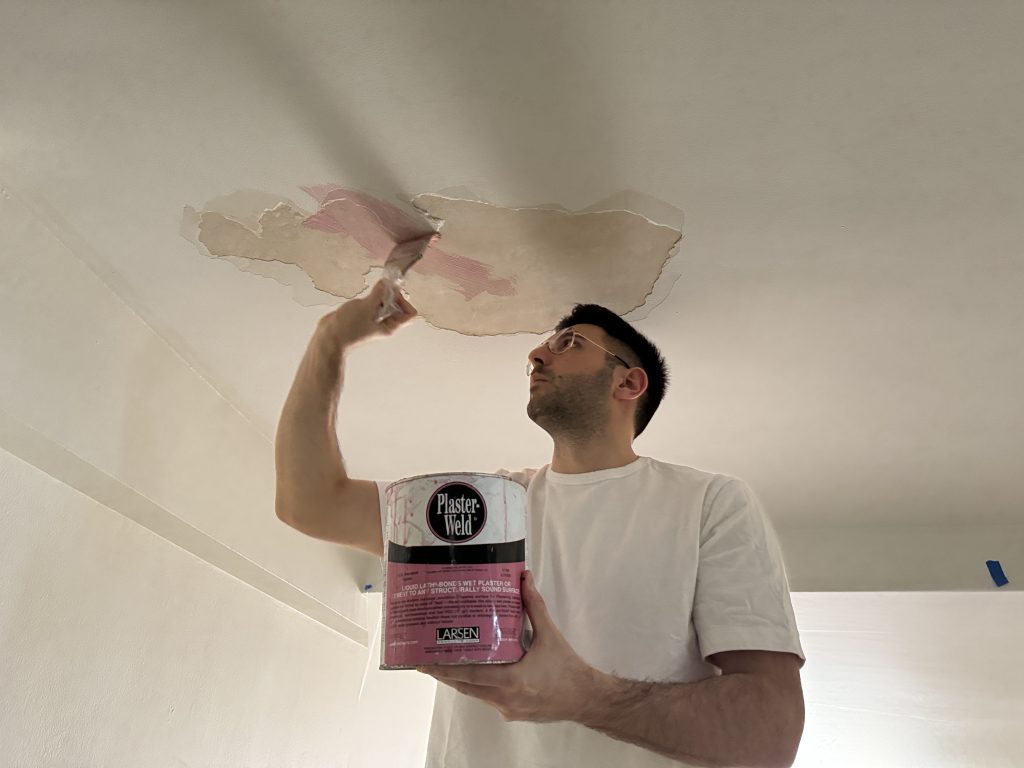
3. Aging Paint:
– Evaluate the overall condition of the paint; if it appears faded, cracked, or brittle, it may be aging and prone to peeling.
– Check for signs of paint deterioration, such as chalking (powdery residue on the surface) or yellowing.
– Consider the age of the paint job; if it’s been several years since the last application, aging paint could be a contributing factor.
By conducting a thorough visual inspection and considering factors such as moisture presence, adhesion quality, and paint condition, you can better identify the underlying problems causing peeling ceiling paint.
Now, let’s dive into the step-by-step instructions for repairing peeling ceiling paint.
Step-by-Step Instructions for Repairing Peeling Ceiling Paint
Now, let’s dive into the step-by-step instructions for repairing peeling ceiling paint. To begin, gather the best tools and materials for the job. If you have a leak, you will have to call in a plumber in order to address the cause, but if it is a small crack, where the bubbling or cracking is due to air, or any other reasons mentioned above, here is your step-by-step to-do list.
Gathering the Best Tools and Materials for the Job
aka the shopping cart
When preparing to repair peeling ceiling paint, having the right tools and materials on hand is essential for achieving a successful outcome. By equipping yourself with the best supplies, you’ll be ready to tackle the job with confidence and efficiency.
Gather Necessary tools and materials
Tools
- Scraper
- Sand Paper
- Utility Knife - Always Handy
- Trowels - For compound/plaster/stucco
- Drill & Mixer Bit -Always add a little water and give a good mix when you are working with any type of mud!
- Paint Tray & Stick - You would want this, especially if you are working with a roller to prevent paint dots everywhere.
- Brushes & Rolls & Rollers
Materials
Safety Precautions & Site CONTROL
- Vacuum
- Microfiber Cloths
- Ladder
- Goggles
- Mask
- Medium/Light Duty Gloves
- Paper Towels
- Thermal Camera
- Protective Tarp
You can find all the necessary tools & materials in the shopping cart at the bottom of the page
Surface Preparation
Removing Loose Paint or Stucco:
Begin by using a scraper, sandpaper, or a pocket knife to remove any loose paint, stucco, or compound from the affected area. Ensure that you remove all loose material until the perimeter of the fixing area has a solid bond and paint no longer easily chips away.
Thorough Cleaning:
Next, clean the surface thoroughly to eliminate dust, debris, and any contaminants. Using a tack cloth can be particularly effective in ensuring a clean surface for repairs.
Applying Silicone Sealant:
For concrete surfaces with cracks, apply silicone sealant after expanding or chipping the crack slightly to ensure the sealant adheres well. Allow the sealant to dry completely before proceeding with further steps.
Sealing the ceiling
Intermediary Products and Priming:
Using intermediary bonding products like Plaster Bond or Mesh Tape offers several benefits that significantly enhance the ceiling paint repair process. These products provide a strong adhesive base, ensuring that the compound or filler material adheres firmly to the surface, preventing future peeling or flaking. The bonding material also helps to reinforce and stabilize damaged areas, creating a smooth and even substrate for applying subsequent coats of compound and paint. Additionally, intermediary products like Mesh Tape add an extra layer of strength, especially in areas prone to cracking or structural weaknesses. Overall, incorporating intermediary bonding products into the repair process improves durability, enhances the cosmetic finish, and prolongs the lifespan of the paint job, making it a valuable investment in achieving long-lasting results.
Using Plaster Bond and Mesh Tape:
Apply a generous amount of bonding material such as Plaster Bond, ensuring it creates a solid layer. Follow manufacturer guidelines carefully. Consider using mesh tape for added reinforcement, ensuring it extends 2-3 inches beyond the damaged area.
Finishing Touches
Multiple Coats of Compound:
Apply at least two coats of compound, one rough and one finish coat, ensuring to allow each coat to dry completely and to sand in between for a smooth finish. Prioritize using a primer on any raw materials, even if the paint claims to be a primer and paint in one. A heat gun can be handy in order to decrease the drying time for compound.
Paint Application Tips:
When applying paint, use long rolls with a roller instead of back and forth motions for a more even finish. Be patient during the painting process to achieve the desired result.
Final Touches:
Allow the paint to dry completely before assessing the finish. Touch up any areas as needed for a seamless and professional look.
Additional Tips and Recommendations
A. Proper ventilation during painting is crucial for several reasons.
Firstly, it helps to disperse paint fumes, reducing the risk of inhaling harmful chemicals. Additionally, good ventilation aids in the drying process, allowing paint to cure evenly and preventing issues like blistering or bubbling. Adequate airflow also contributes to a smoother finish, as it minimizes dust particles settling on wet paint surfaces. Overall, prioritizing proper ventilation not only ensures a safer painting environment but also promotes better paint adhesion and quality results.
B. To prevent future peeling of ceiling paint, addressing underlying moisture issues is essential.
This includes fixing leaks in roofs or plumbing, improving ventilation to reduce humidity levels, and sealing gaps or cracks where water may enter. Using moisture-resistant paint or primers can also provide added protection against moisture-related paint damage. By tackling these root causes, homeowners can significantly prolong the lifespan of their ceiling paint and avoid costly repairs down the line.
IN CONCLUSION
This comprehensive guide emphasizes the importance of investing in quality materials and thorough preparation when fixing peeling ceiling paint. Understanding primary causes like moisture infiltration, poor adhesion, and aging paint is crucial for implementing effective solutions. Thorough surface preparation, including removing loose paint, cleaning, and applying intermediary bonding products like Plaster Bond or mesh Tape, enhances the repair process. Additionally, following proper painting techniques and addressing underlying issues like moisture infiltration are key to achieving a professional-looking and durable finish that withstands future peeling. Ready to get started? Head over to our shopping cart to gather the best tools and materials for your ceiling paint repair project.
If you have any questions or concerns, or if you have any other issue, perhaps we can be of help. Do not hesitate to contact us! We are here to assist and provide guidance.
SHOPPING LIST & LINKS
tools
Materials
Safety Precautions & Site CONTROL
Tools
- Scraper
- Sand Paper
- Utility Knife - Always Handy
- Trowels - For compound/plaster/stucco
- Drill & Mixer Bit -Always add a little water and give a good mix when you are working with any type of mud!
- Paint Tray & Stick - You would want this especially if you are working with a roller to prevent paint dots everywhere.
- Brushes & Rolls & Rollers